

Hello, and welcome to MSWSW’s analysis of “We’re Off to Kill the Wizard.”
There are four parts to this episode guide:
- Part 1 includes the setting, characters, and context of the episode.
- Part 2 is a detailed timeline of the episode’s events.
- This is Part 3, an analysis of the episode.
- Part 4 is a collection of fun extras that I like to call Bonus Features.
Show Your Work
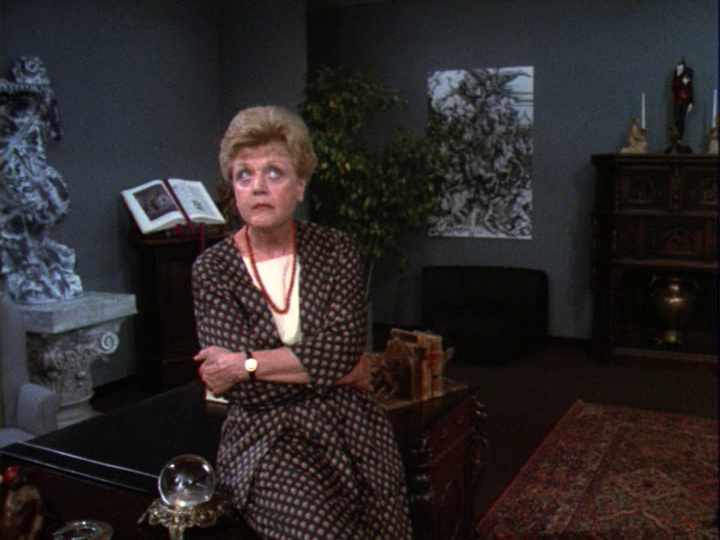
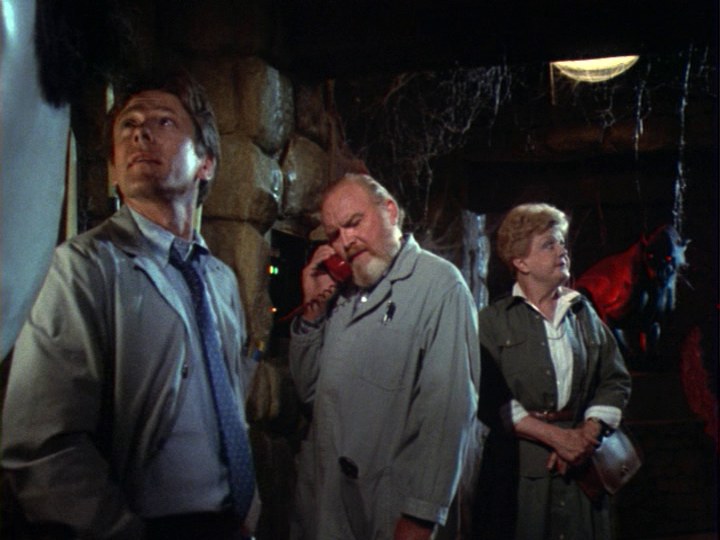
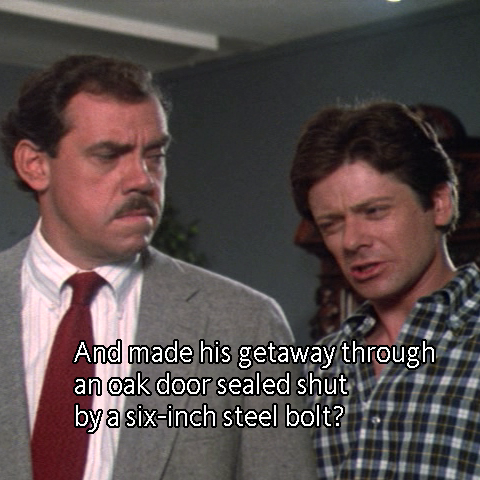
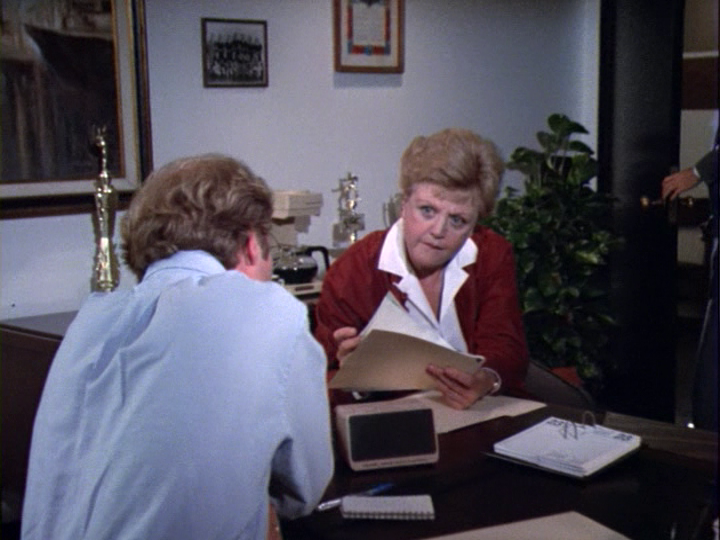
Welcome, dear readers, to the very first locked room mystery of the series. Let’s see if we can find the key…
Fair Play Pause Point
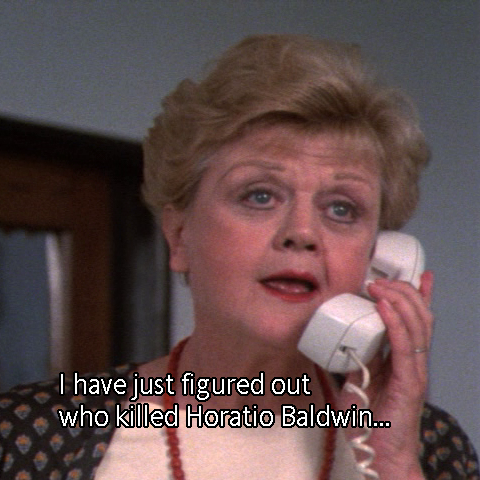
After a little game of telephone in the Office of Horrors, Jessica has it all figured out. At this point in the story, which I call the fair play pause point, does the audience have enough clues to solve the mystery, too?
Suspects & Motives
By my count, there are six suspects.
All of Horatio Baldwin’s key staff members have the same motive to kill him, blackmail. This includes:


Baldwin’s wife, Erica, and his private investigator, Mickey Gardner, also have reason to kill Horatio. They were having an affair. Plus, Erica stood to inherit her husband’s estate.

The two security guards who discovered the murder can be eliminated as suspects because they had no motive – they were not being blackmailed, nor did they stand to gain by Horatio’s death.
Means & Opportunity
Let’s start with opportunity. All Horatio’s key staff, including Mickey, were on site at the House of Horrors the day of the murder. Also, there’s no reason to suppose that the jet-setting Erica couldn’t have deplaned to pay her husband a special visit.
With regards to means, any one of the suspects could have been responsible for the fatal blow. That’s why figuring out the locked room puzzle is key.
Clues!
Here are the clues to this mystery, in the order in which they are presented to the audience, with one exception.
Ok, maybe one and a half exceptions. The half is that Jessica just knows that a very nice young lady like Laurie Bascomb isn’t capable of murder. Balderdash. A man lies dead, Jessica. We’re here for facts, not feelings.
Clue 1: Nil’s Call Forwarding
The morning after Horatio is killed, we learn that staff at the House of Horrors use call forwarding. Nils takes a call that was automatically forwarded from his office to the Tunnel of Horrors phone.
CLUE 2: Erica Baldwin’s Offer
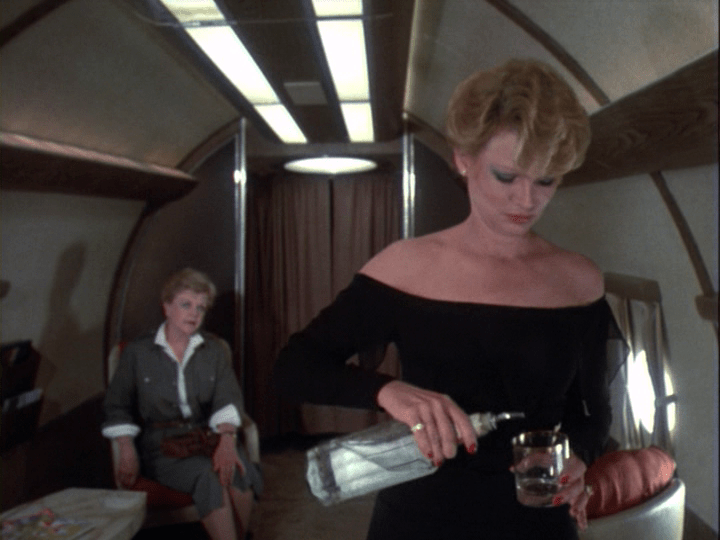
Erica and Mickey offer Jessica $100,000 to prove that Horatio was murdered. They’re more interested in securing a life insurance payout than seeing justice done. Nevertheless, this eliminates both of them as murder suspects.
Clue 3: Horatio’s Missing files
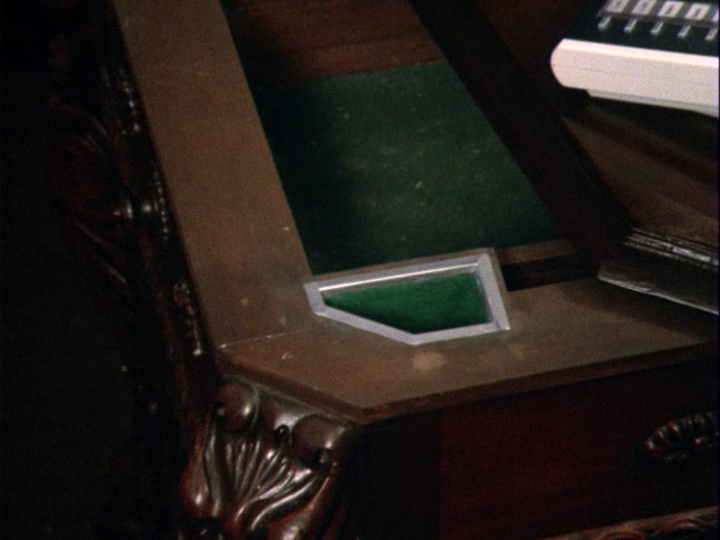
Horatio’s not-so-secret blackmail files are missing from the secret hiding place in his office. Two things can be reasonably inferred from this clue: (1) The murderer took the files, and (2) The murderer was implicated by the files.
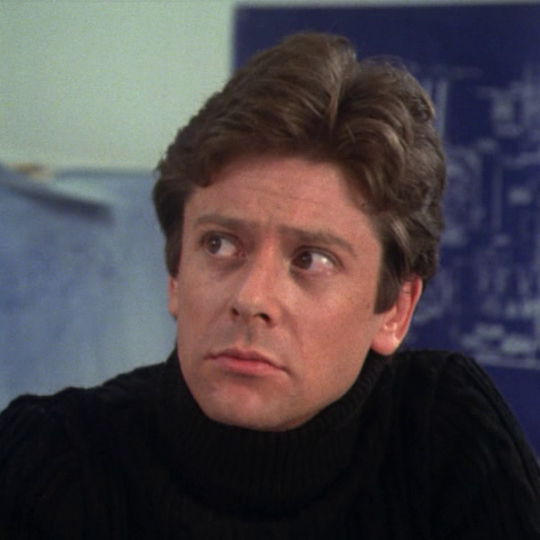
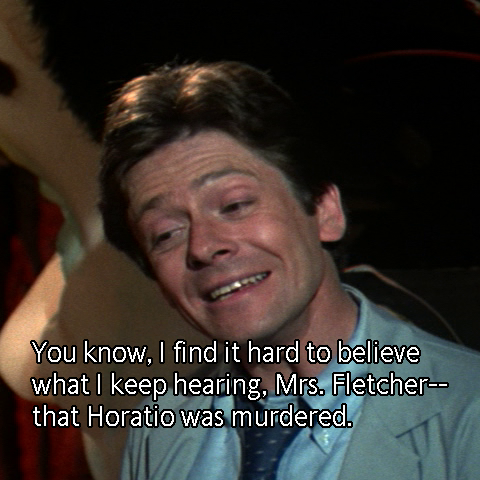
Clue 4: Phil’s Insistence on Suicide
In two separate scenes, Phil Carlson insists that Horatio must have commited suicide, despite evidence to the contrary. He’s the only suspect to do so.
By contrast, two of his fellow blackmailed staff members acknowledge that Horatio must have been killed:
Clue 5: Arnold’s Mysterious Caller
Arnold Megrim made a run for it after receiving a mysterious phone call. The caller was a man.
Since even Arnold has enough sense not to frame himself, this clue eliminates both him and Laurie as suspects.
Clue 6: Horatio’s Fishy Files
Two things seem fishy about the blackmail files: (1) The dirt on Phil Carlson is weak, and (2) Mickey is not included among the blackmailed staff members.
This clue implicates either Phil or Mickey as the murderer… except we already eliminated Mickey with Clue #2…
… so once Phil is also done eliminating Mickey, we can get to the solution of the locked room puzzle.
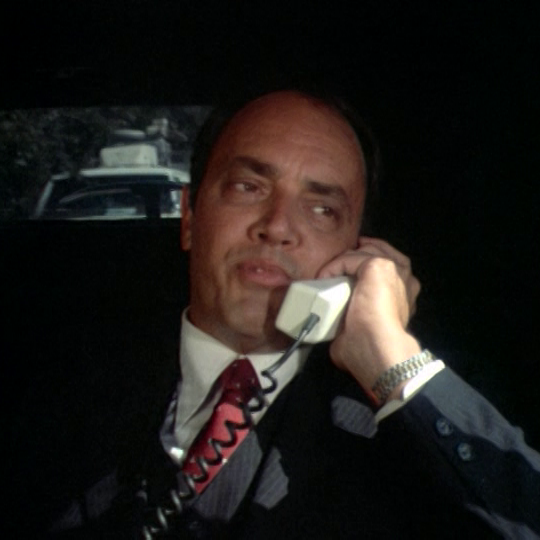
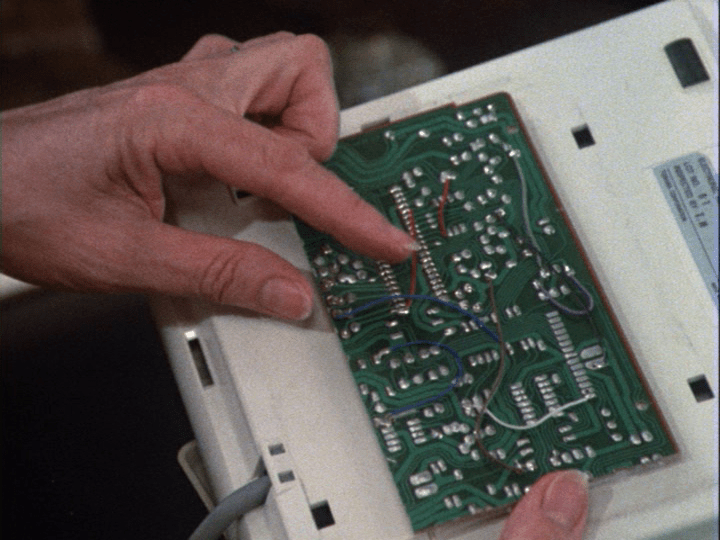
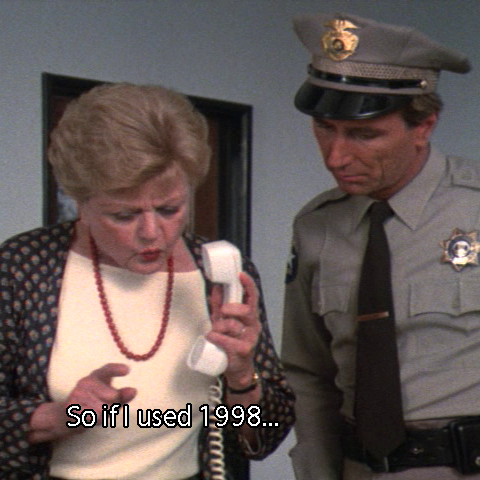
Clue 7: Horatio’s Telephone
The telephone on Horatio’s desk and the telephone on Laurie’s desk use two extensions, 1998 and 1999. These two phone extensions are set up so that incoming calls to 1998, Horatio’s extension, ring through to both Horatio’s and Laurie’s phones.
When Bert calls extension 1998 to speak to Jessica, Laurie’s telephone in the anteroom rings, but the telephone in Horatio’s office does not.
This prompts Jessica to inspect Horatio’s phone. She finds that the ringer has been disabled by cutting a wire.
Clue 8: Laurie’s Telephone
I think viewers in the 1980’s would have been more familiar with this kind of office phone system than we are today. Even so, this clue is still pretty complicated.
First, a very attentive viewer will have noticed that Jessica suggests that dialing 1998 on 1998 will cause the call to come in on 1999. While this is true, it is not relevant to the case.
What Jessica actually does on screen is relevant. She dials 1998 (Horatio) from 1999 (Laurie).
When Ned picks up Horatio’s phone, the red light on Laurie’s phone indicating that 1998 is in use does not light up.
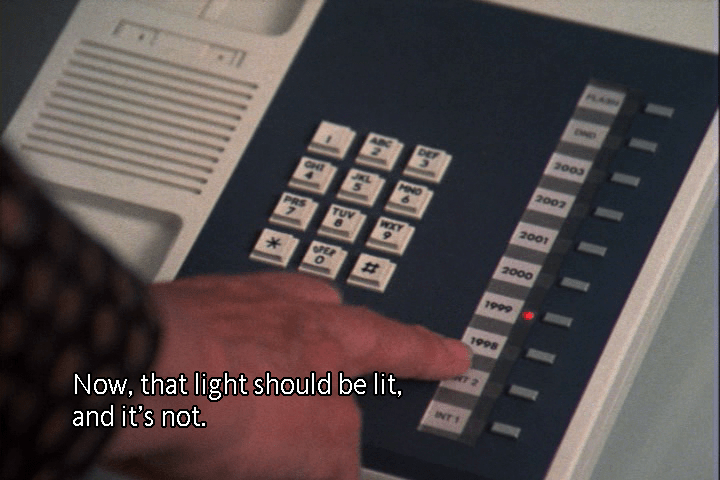
This demonstrates that Laurie’s phone (1999) has been tampered with so that the user cannot tell if Horatio’s phone (1998) is in use.
Clue 0: Phil’s Disappearing Sweater
This is the one clue I did not present sequentially. I’ve numbered it 0 because that’s how I feel about it.
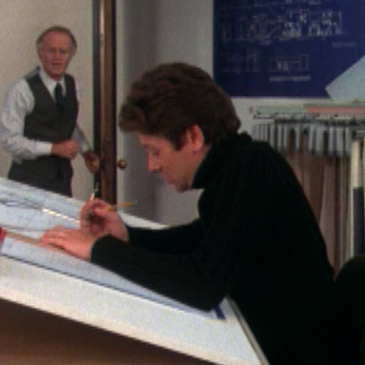
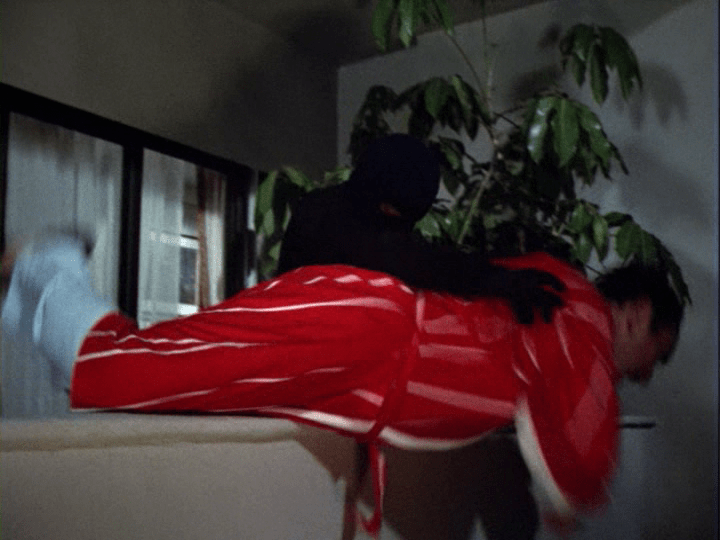
When we first meet Phil on that fateful Saturday, he is wearing a black turtleneck sweater.
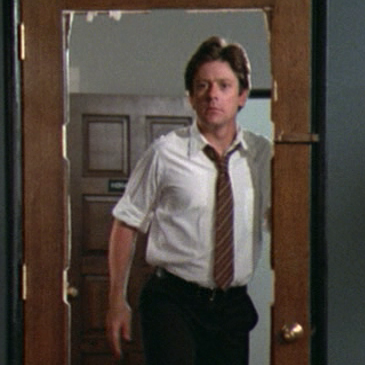
The next time we see him, immediately after Horatio is found dead, he is no longer wearing a sweater.
The explanation given for Phil removing his sweater is that if the security guards had seen him dressed in black, they might have figured out that he was hiding in a dark corner of Horatio’s office when they entered.
Yeah, no thank you.
This crime was not premeditated. Phil innocently wore the black sweater all day. If anything indicates guilt, it’s the change to the white shirt.
I think this wardrobe change is really just meant to tip off the audience.
However, I can think of a really good reason why Phil might have wanted to remove that sweater after leaving Horatio’s office. After standing that close to Horatio while firing the gun, Phil probably would have been covered in… well… let’s call it forensic evidence.
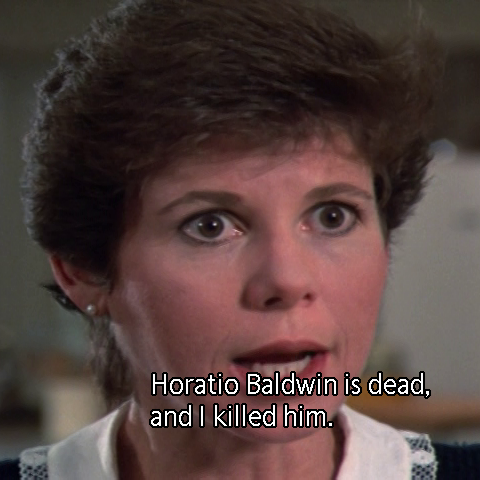
J’accuse!
Even a casual viewer will be able to figure out that it was Phil who killed Horatio.
The more interesting question is how he did it.
This is a very well executed locked room puzzle. Phil hadn’t planned to kill Horatio, so all of the choices he makes to extricate himself from an unpremeditated pickle, while not perfect, make sense under the circumstances. It makes sense that a theme park designer like Phil would have been able to come up with a fairly complex, device-driven plan. The misdirection created by tampering with the phones would have worked as presented. The solution – that the culprit was locked inside, hid, and then snuck out while attention was focused on the body- is simple and solid.
This is a fair play mystery – the audience is given all the information they need to figure out how Phil did it- but it’s a thinker. In my opinion, it’s exactly what a locked room mystery should be, seemingly complex, but simple once you know how it was done. Bravo!
However, there are a few flaws to this episode. They’re small, but since this mystery hinges on a precise locked room puzzle, they’re not immaterial.
Grievance 1: The Black Sweater
I’ve already said my piece about Phil removing the “incriminating” black sweater -it’s really more of a tip to the audience than a necessary step in his plan.
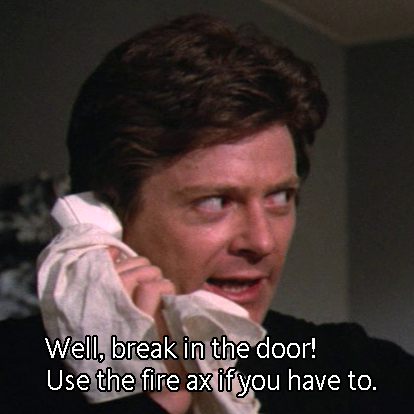
Grievance 2: Phil’s Indoor Voice
Phil tampers with Horatio’s phone to ensure that the security guards will not hear it ring from the other side of the door. However, when he takes the call, he speaks quite loudly.
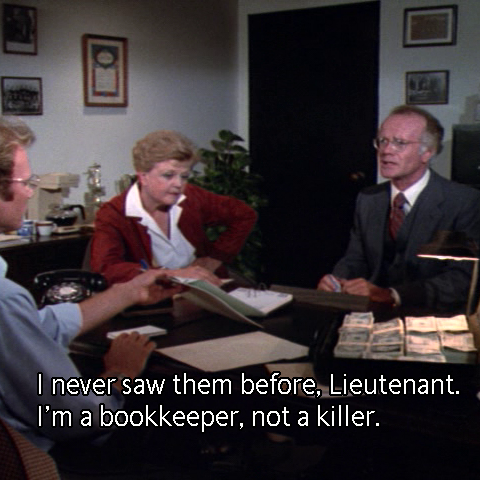
Grievance 3: The Inexplicably Found files
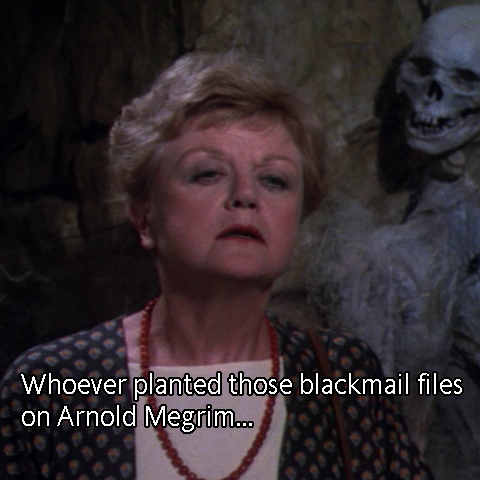
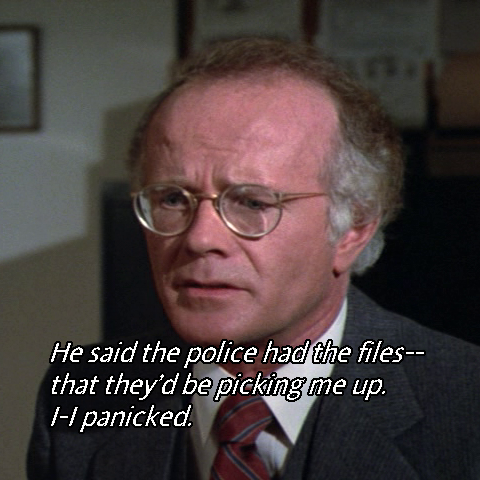
After Arnold Megrim is stopped at the airport with a briefcase full of cash, Bert and Jessica confront him with information they gleaned from the blackmail files.
It’s not clear to the audience how the police gained possession of these files until Jessica confronts Phil with all of his crimes during the denouement.
I think an explanatory line about the files in the scene with Megrim was cut. A murder suspect fleeing the country with a briefcase full of cash is already sufficiently suspicious. I doubt the audience was expected to just infer that Megrim was also unknowingly carrying the blackmail files.
Grievance 4: Phone Line Confusion
I touched on this already while discussing the clue about Laurie’s telephone. Jessica suggests that dialing 1998 on 1998 will cause the call to come in on 1999… and she does so while holding the receiver of 1999.
This is utterly confusing if you are trying to figure out which phone is which. It’s also not relevant to how the killer used the phones. Since paying close attention to how the phones were used is key to this mystery, this line is worse than irrelevant, it’s detrimental.
Episode Rating

Three out of four stars. This is a very good episode!
The standout element of this episode is a well executed locked room puzzle. Delightfully campy touches brighten up an otherwise drab and nondescript setting.
Locked room aside, we’ve already seen two episodes with a similar premise, and we’re only eight episodes into the season. At some point tried and true starts to feel less than fresh.
If you’re ready for something that’s definitely novel, please join me for Part 4: Bonus Features.
Part 4: Bonus Features
Discover more from Murder, She Wrote, She Wrote
Subscribe to get the latest posts sent to your email.
